Quick and easy installation in just minutes. Combine your data automatically in the background and benefit of better insights and greater revenues.
Couchbase Data Integration
Couchbase data can be integrated and synchronized codeless with various external systems,
Learn on this page how the data integration of Couchbase is working with the Layer2 Cloud Connector Enterprise Edition by using the step-by-step screenshot tutorial. Make use of the benefits and features of this data integration tool by trying it out yourself: Free Trial Registration
HOW IT WORKS
In fact, you only need to do the 5 following steps to get your Couchbase data integration started.
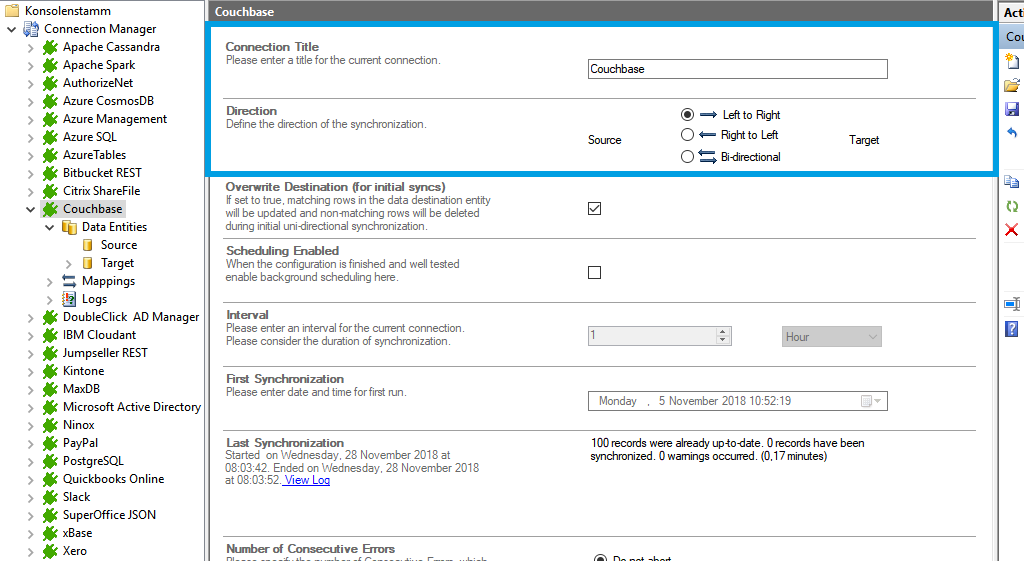
- Setup your connection as required: one-way or two-way.
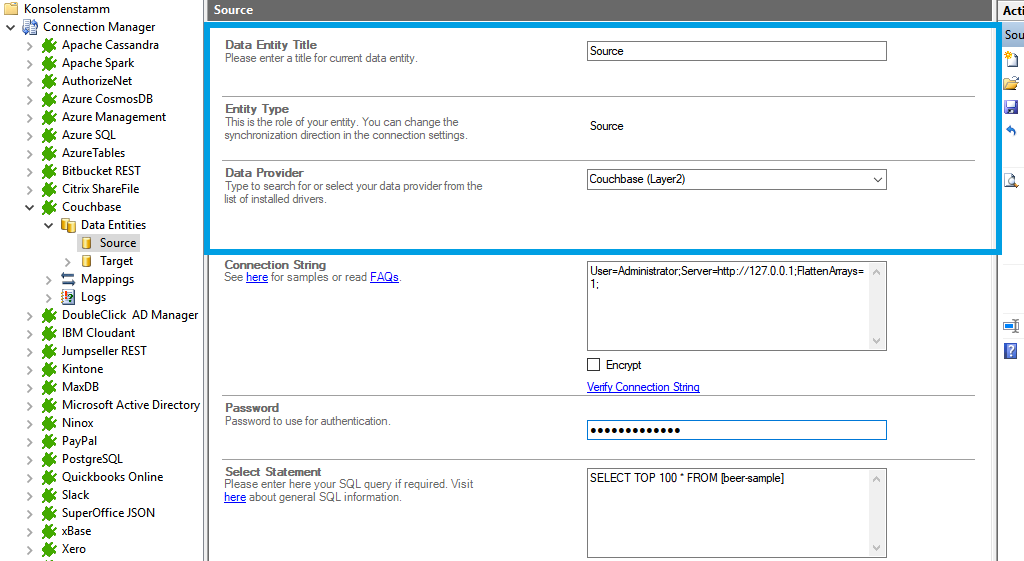
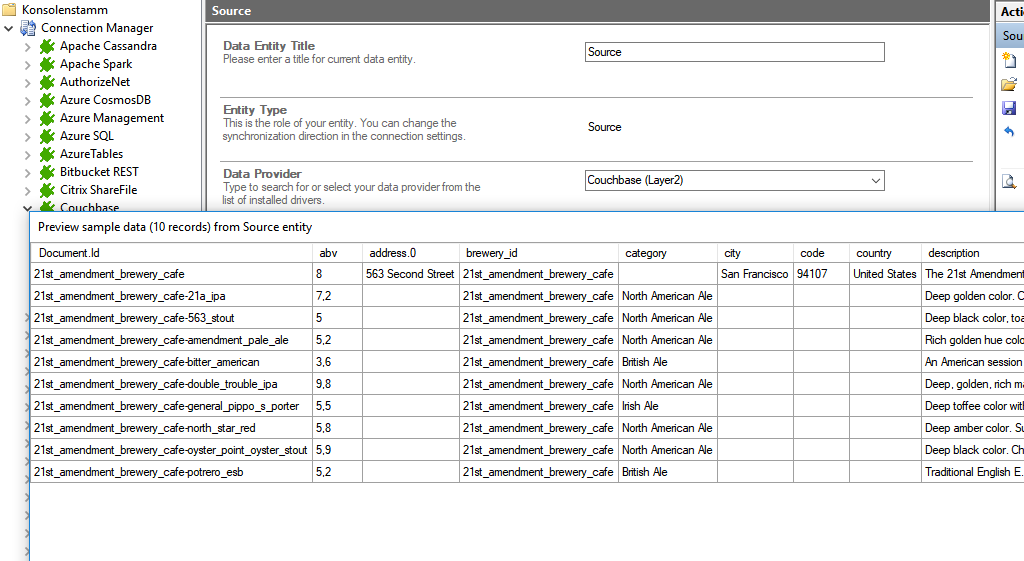
- Setup your data source, in this case, Couchbase.
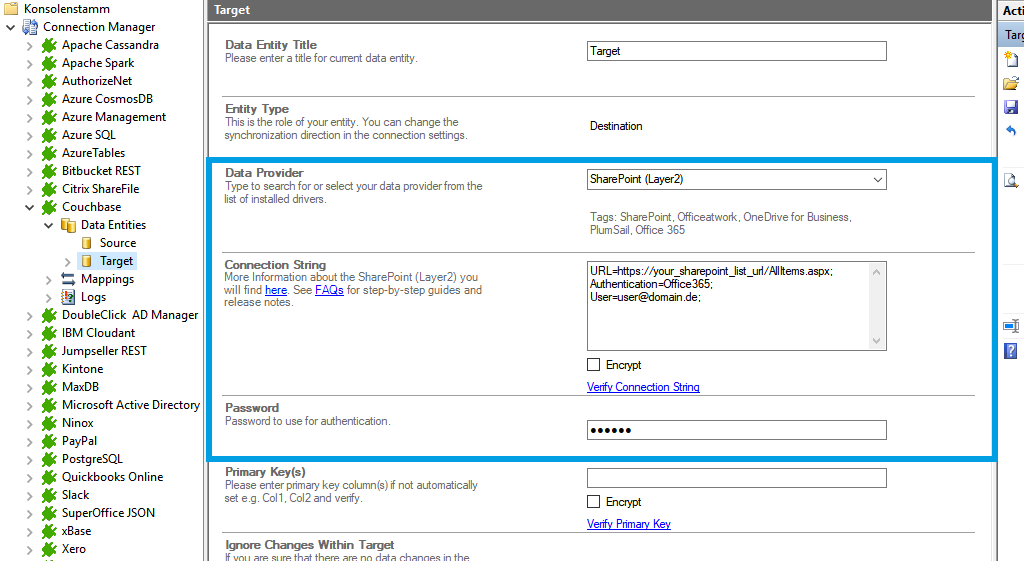
- Setup your target – for example, SharePoint.
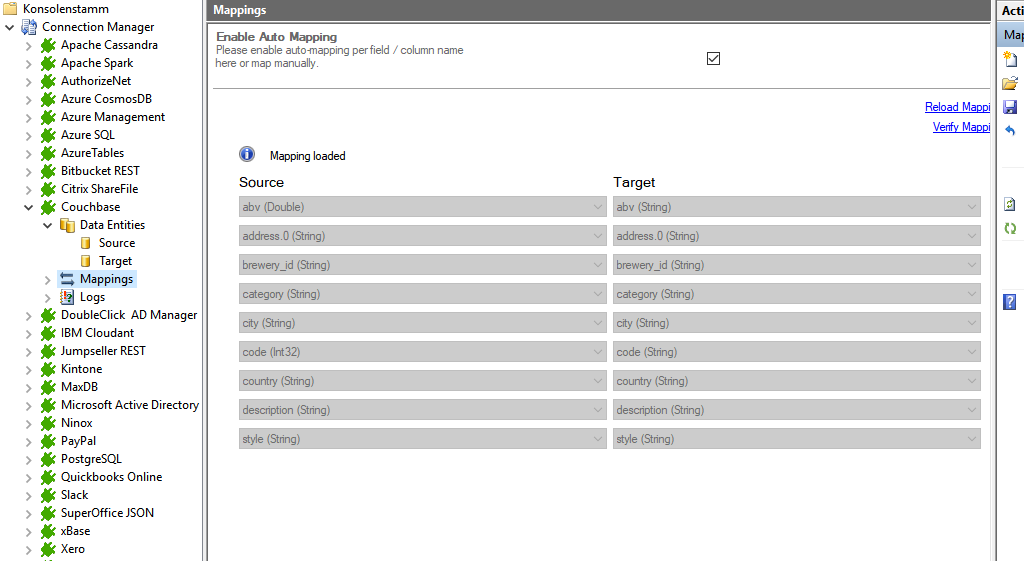
- Setup your mapping.
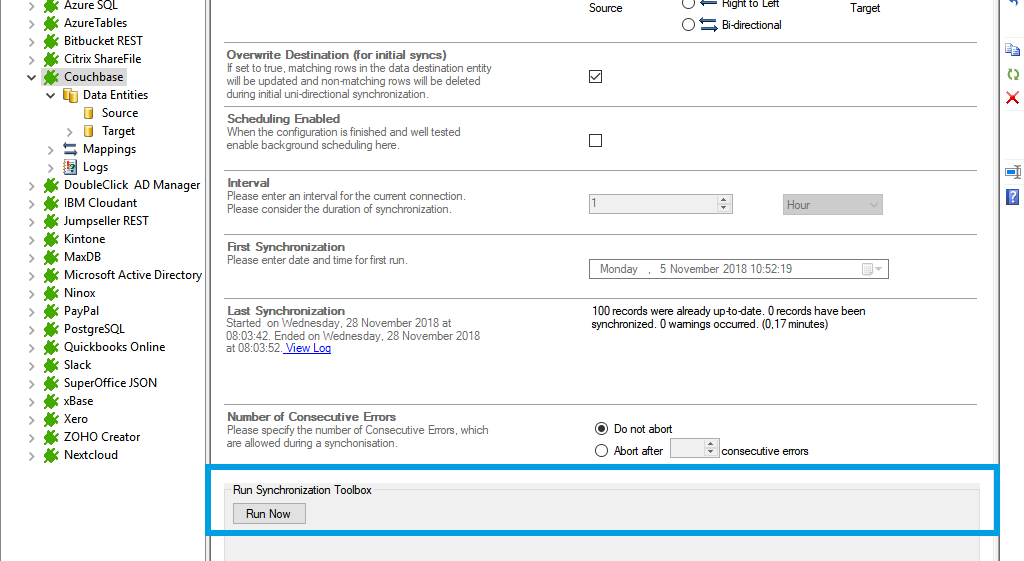
- Start your project!
Benefits of using the Layer2 Cloud Connector for your Couchbase data integration
Couchbase step-by-step data integration via the Layer2 Cloud Connector
Use this step-by-step-instruction to get through the whole product and data integration configuration easily. Some steps require a copy-paste task of code snippets. Please follow the recommendations in this instruction closely.
Specific Connection Settings for your Couchbase integration
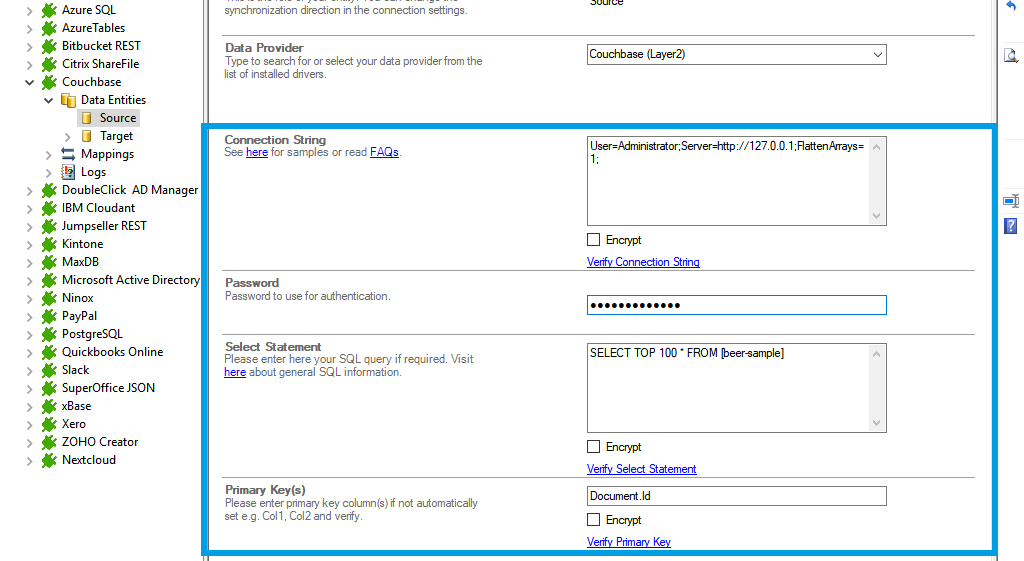
Please copy and paste this connection string into the designated field like described in Step 2.5 of the step-by-instruction above.
User=couchbaseuser;
Server=Server_IP_address;
FlattenArrays=1;
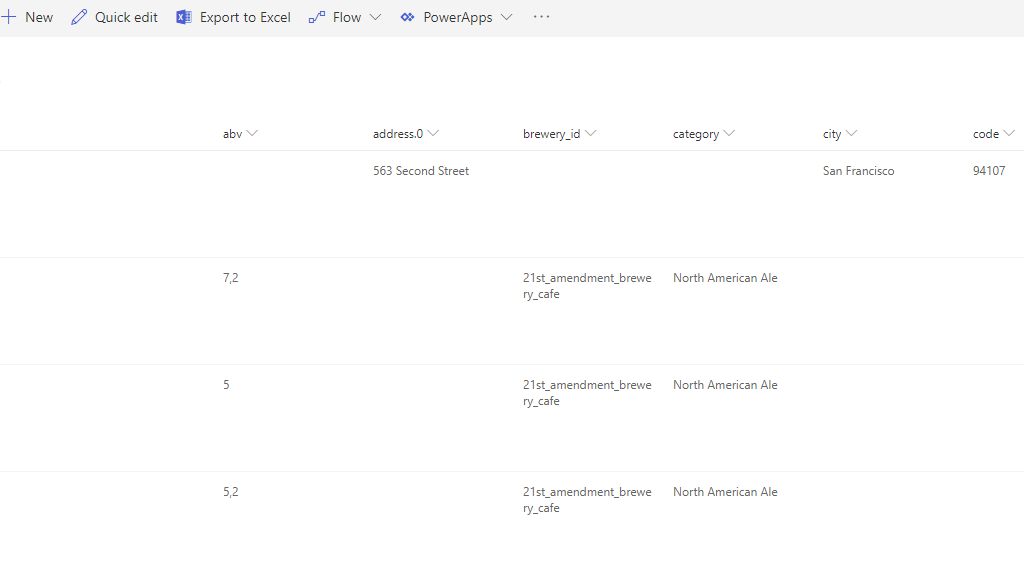
The FlattenArrays = 1 sets the depth level from the arrays we are going to show.
Select statement example:
SELECT TOP 100 * FROM [beer-sample];
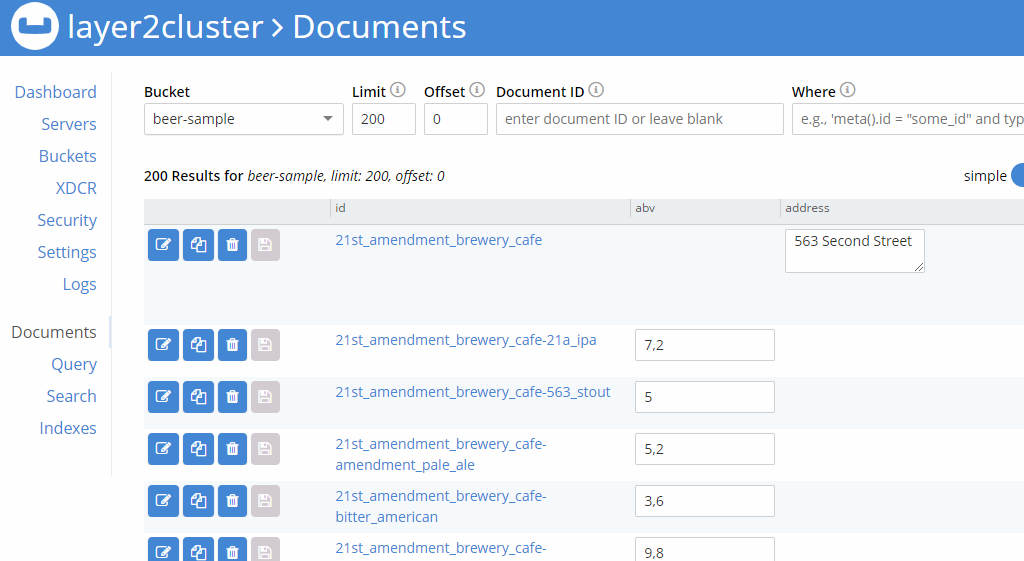
The table names are the buckets names from your Couchbase Server.
Read the whole story: A detailed documentation of how to connect Couchbase with SharePoint on a concrete example.
Connect Couchbase with the following systems
Take your next steps

