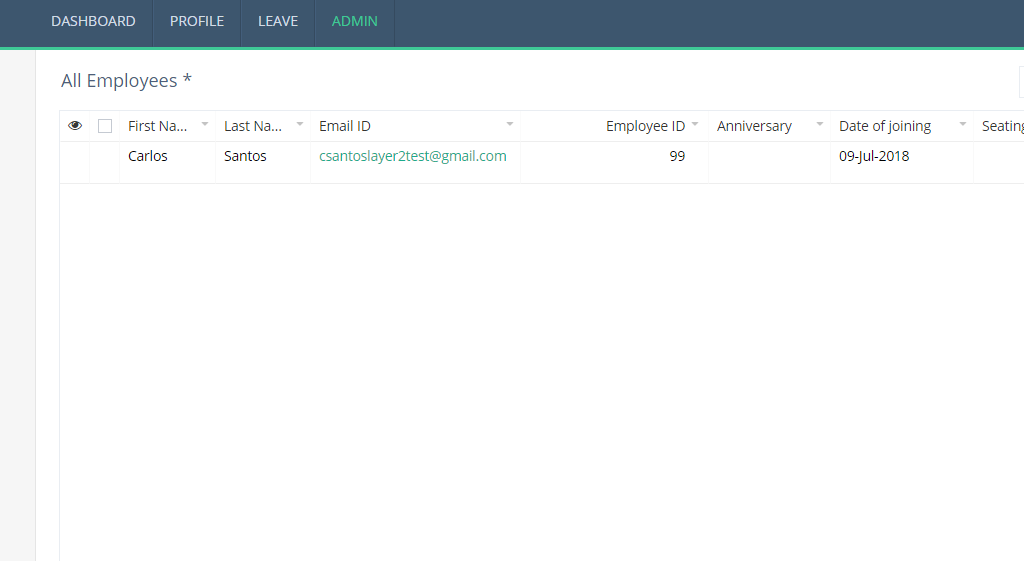
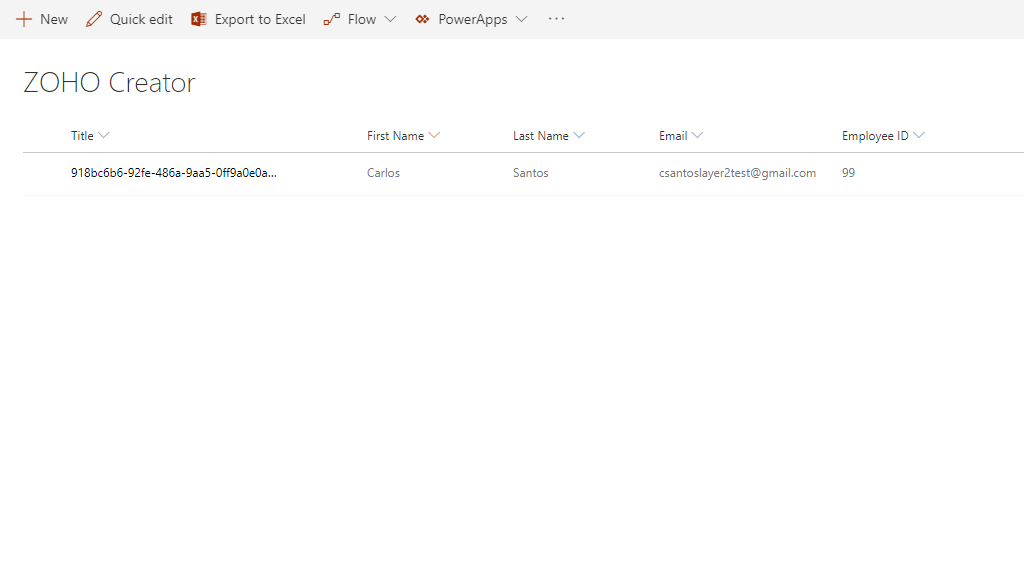
Quick and easy installation in just minutes. Combine your data automatically in the background and benefit of better insights and greater revenues.
How it works
In fact, you only need to do the 5 following steps to get your integration started.
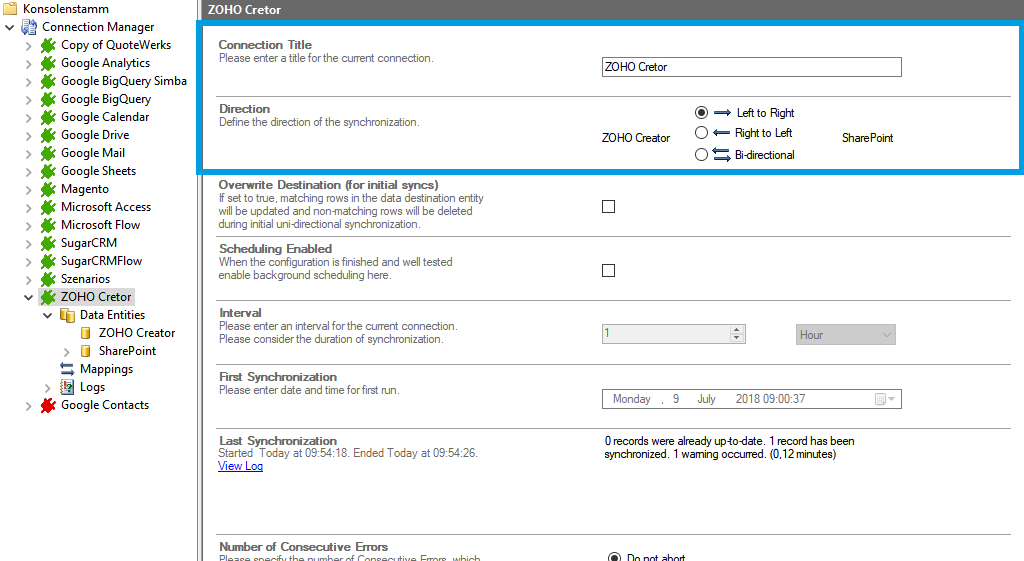
1: Set up your connection direction as required: one-way, in this case.
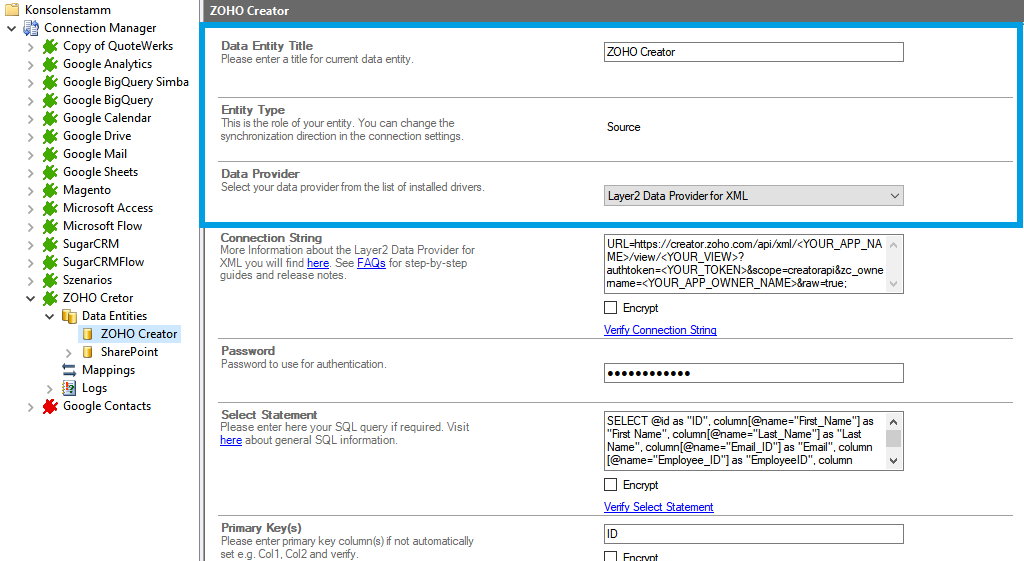
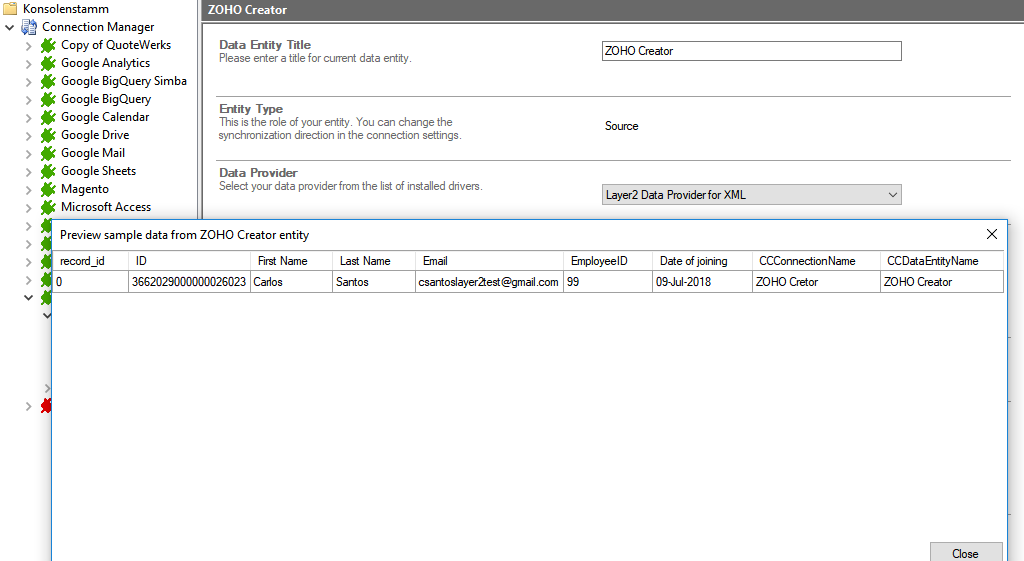
2: Set up your data source, in this case, Zoho Creator
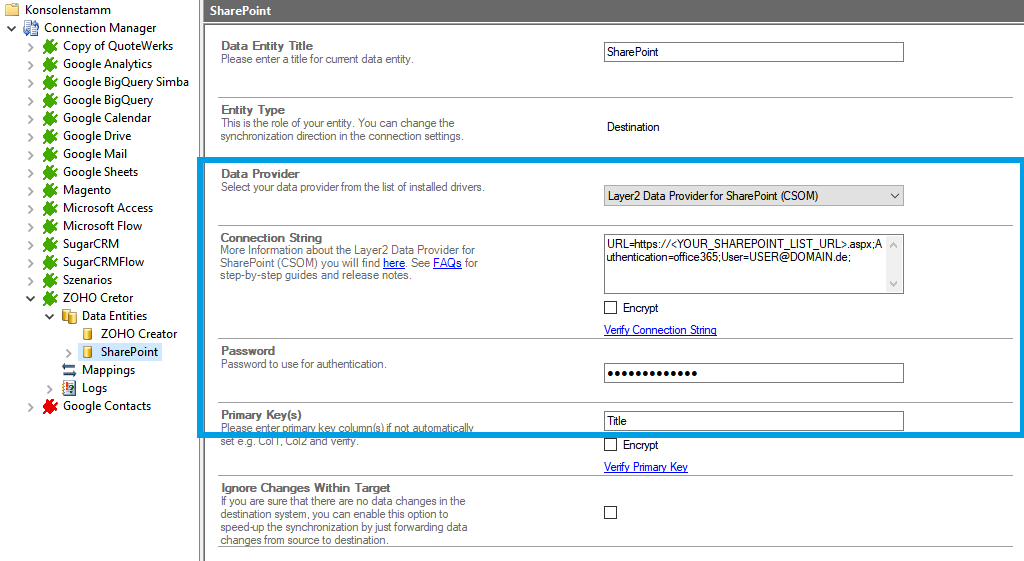
3: Set up your target, for example, a Microsoft SharePoint list or library.
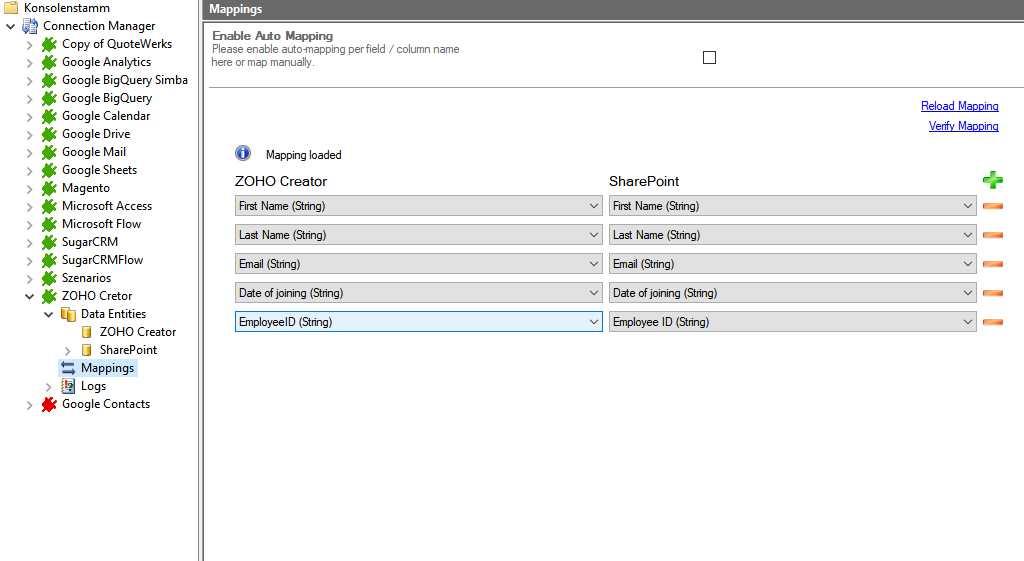
4: Set up your mapping.
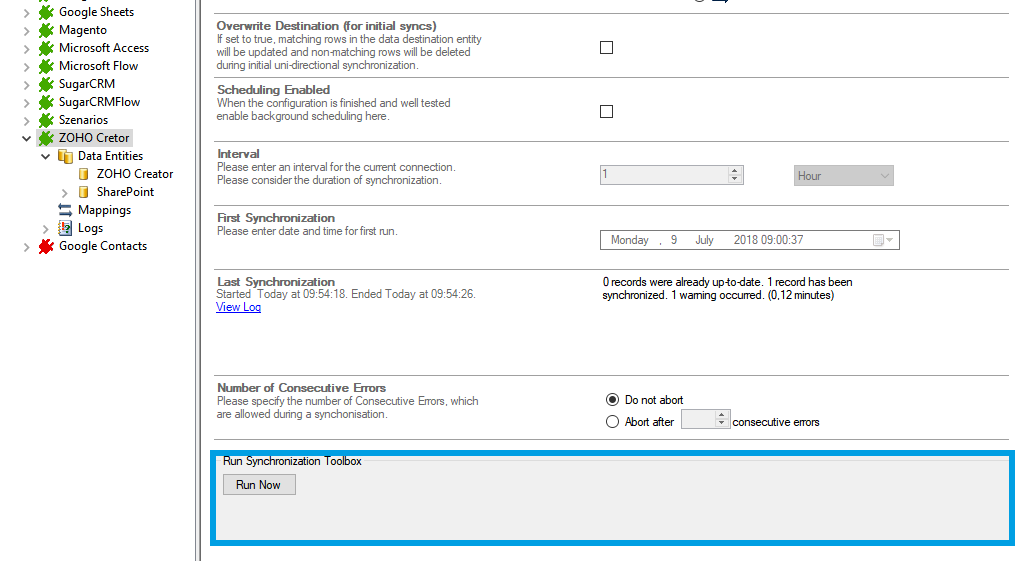
5: Run your connection!
Benefits of using Layer2 Cloud Connector for Data Integration
Zoho Creator Connection Settings &
Intro tutorials
You can find here the Connection Settings for Zoho Creator differentiated according to their provider. Click on the respective intro tutorials to get the whole "how-to-connect" documentation on a concrete example with SharePoint.
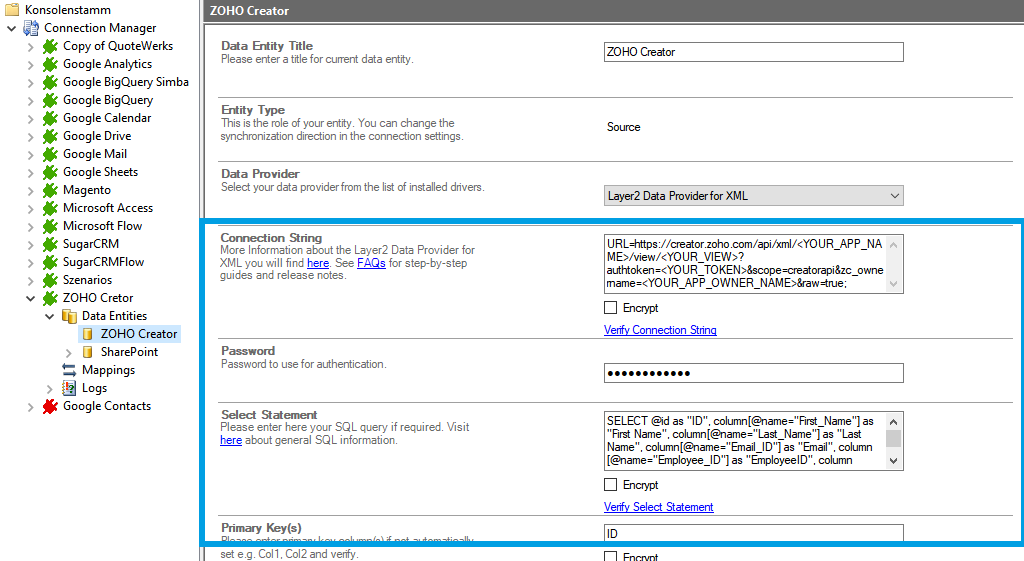
Connection Settings for the Layer2 Data Provider for XML:
"How-to-connect" documentation of Zoho Creator & SharePoint with Layer2 Data Provider for XML:
Connection String Example
URL=http://creator.zoho.com/api/xml/<your_app_name>/view/<your_view/?authtoken=<your_authentication_token>&scope=creatorapi&zc_ownername=<your_app_owner_name>&raw=true;
Select Stament Example
SELECT @id as “ID”, column[@name=”First_Name”] as “First Name”, column[@name=”Last_Name”] as “Last Name”, column[@name=”Email_ID”] as “Email”, column [@name=”Employee_ID”] as “Employee ID”, column [@name=”Date_of_joining”] as “Date of joining” FROM /response/records/record

